Jekyll pig image gallery
A few posts ago I added image galleries. Initially I used the Jekyll Photo Gallery (JPG) by Theo Winter, which had many of the features I wanted. I liked specially the generation of a unique page for each photo and the google maps thumbnail generation. The JPG used the Justified Gallery by Miro Mannino to show a grid of images.
I noticed that for a great amount of images the site took too much time to load. After a small search I found the Progressive Image Grid (PIG) by Dan Schlosser, this gallery could load an absurd amount of images without much effort. It does this by loading and unloading the images, buffering them based on the user’s browsing direction.
Changes to Jekyll Photo Gallery
First I made a few changes to the photo.html layout from the original JPG. I changed where the map was placed and increased the map size for a higher resolution view. I also made the elements responsive and added a few icons based on the flickr layout.
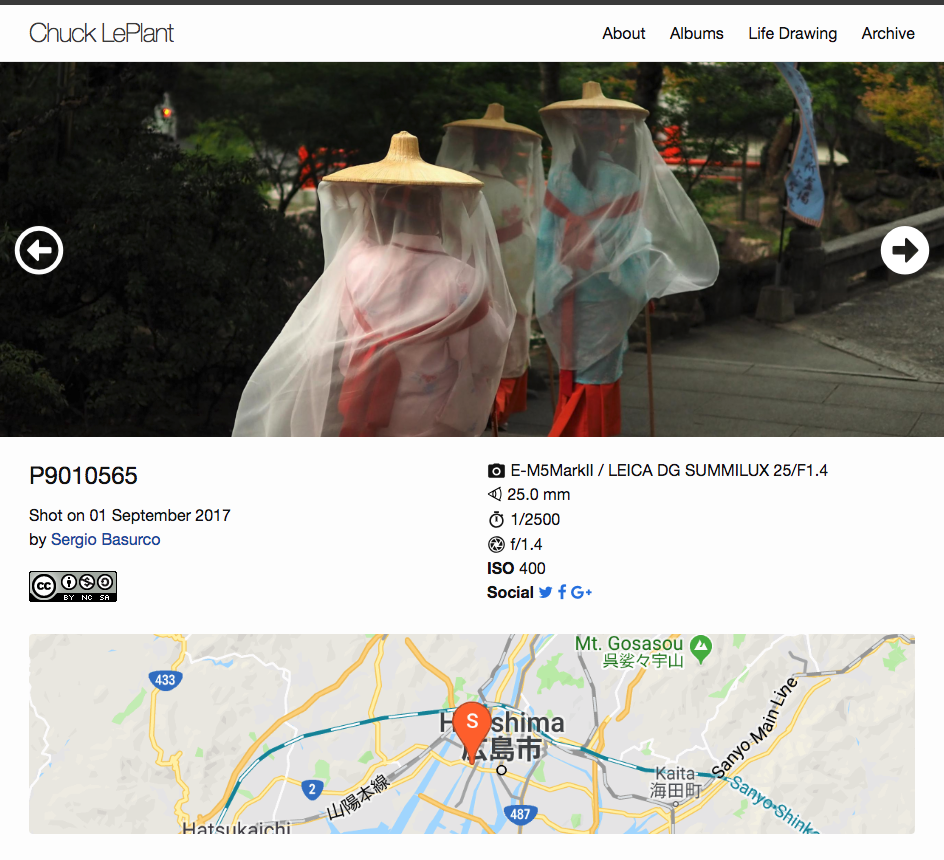
The image layout acts in a similar way to how YouTube does for videos, it keeps a maximum height, which responds to the user shrinking the window width. I also added arrows on each side for feedback, this way the users know they can navigate by clicking.
A big change on performance was precomputing all the exif data to be used in the photo page. In the original JPG these were called via Liquid script when generating the page. This happened each time Jekyll was built. Given that I made a script to set up photos and thumbnails in Python, I also made it so that all the required exif data was pregenerated just once. It is saved to a YAML file and used directly by Jekyll. The site generation time was basically halved by this.
Changes to Progressive Image Grid
The first challenge was to make PIG usable from Jekyll. Luckily JPG had already set the pathway to do this. I only had to replace the Justified Gallery code with PIG code.
For the actual PIG code I did have to make the images clickable, I added a url field for the images list. Then in JavaScript I created a div element to act as the captions. I shamelessly copied the captions from Justified Gallery, including the hover behaviour and animations.
How to use this in your Jekyll site
If you’d like to use this image gallery you can grab this commit. It will come in handy in case I change the theme or add too many custom features to my blog. At the moment of writing I’m using the default Jekyll minimal theme.
All you need to do to set it up is place your images in the following folder structure:
./
    img/
        albums/
            Hawaii/
            Alderaan/
            Another Album/
            ...
Then run the setup-photos.py script, in the scripts folder. This script will do the following:
- Rotate your images according to the orientation specified by the metadata.
- Create thumbnails of height 20px and 250px, used by the PIG code.
- Create a YAML file for each album, describing all the images.
- All metadata found in the EXIF of your JPEGs will be written to the YAML descriptor. Later to be used in the photo page.
Use the following snippet to insert an album anywhere in a post.
{ %includeGallery ALBUM_ID% }
That should be it, run jekyll serve --watch to generate your site and you should be able to see your albums.